

Purpose
The dropdownlist() is used to create dropdownlists on SAP screens, enabling users to select from a predefined set of options. You can populate the dropdown dynamically, trigger functions on selection, and even link values to other fields. Additionally, the appearance of the dropdownlist can be customized using various styling options.

Note: You can specify the position of the dropdownlist in different ways. Click here for details on positioning the screen elements.
Syntax
You can create a dropdownlist at desired locations with the required functionalities using the following formats.
Format 1: Basic dropdownlist placement
//Creates a dropdownlist with a label name at specified row and column coordinates
dropdownlist([row,col],"label name",{"option":value...});
You can use the set command to populate values in the dropdownlist. The following is the syntax:
set("V[label name]",value);
Format 2: Dropdown list with respect to other screen elements
// Creates a dropdownlist relative to other screen elements
dropdownlist("F[screen element]+[row,col]","variables",{"option":value...});
Properties
- row, col - Row and column coordinates
- variables - The list of items that appear in the dropdownlist
- screen element - Field name
Available Options
You can use the following options with the dropdownlist:
|
"process":true - Triggers a function when a value is selected. |
|
|
"refer":"true" - Passes the selected value of the dropdownlist to another screen or a different element on the same screen. |
|
|
"textfont":"string" - Changes the font style of dropdown text. The default font is Arial. |
|
|
"textheight":"" - Adjusts the text height in the dropdownlist. The height can be specified in pixels, percentages, or EMs. The default height depends on the SAP GUI font size. |
|
|
"textweight":true - Sets font weight (boldness) from 1 (thin) to 9 (heavy), with the default value being 5. |
|
|
"width":value - Defines the dropdownlist width (default is 16). |
Options Detail
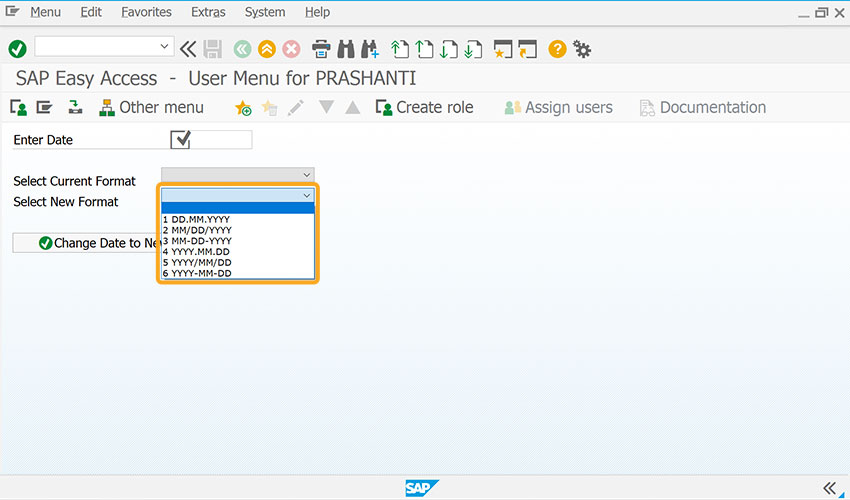
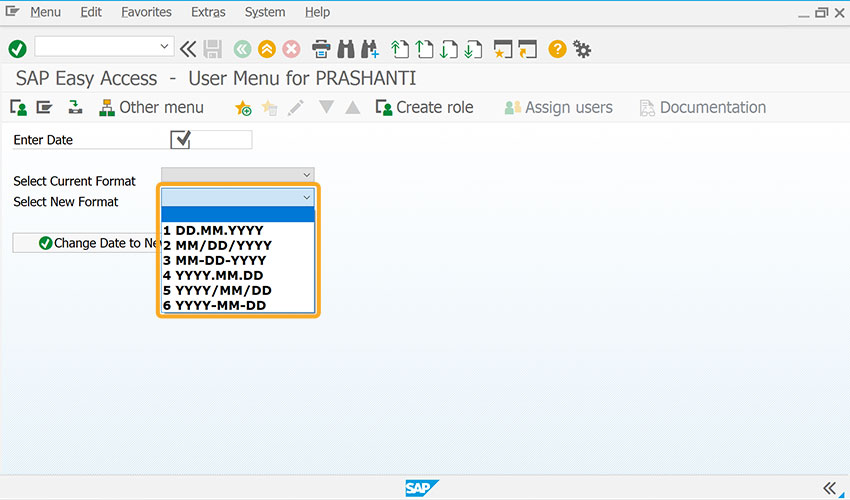
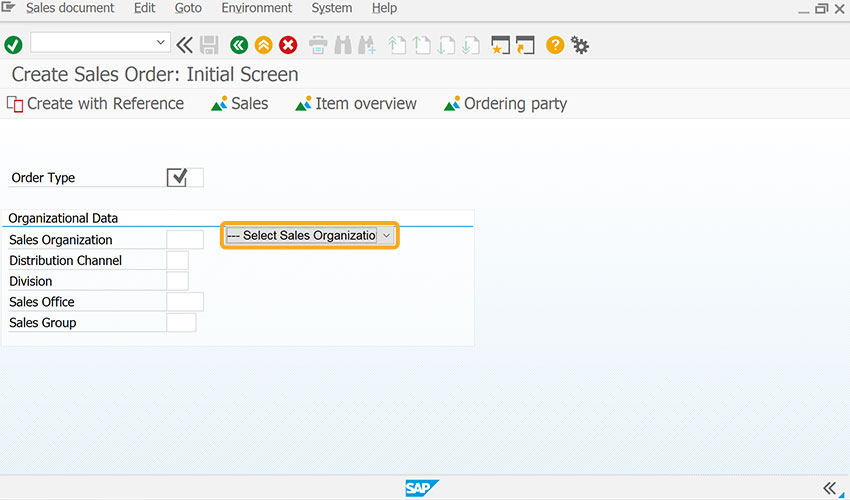
Example: Creating a Customized dropdown menu
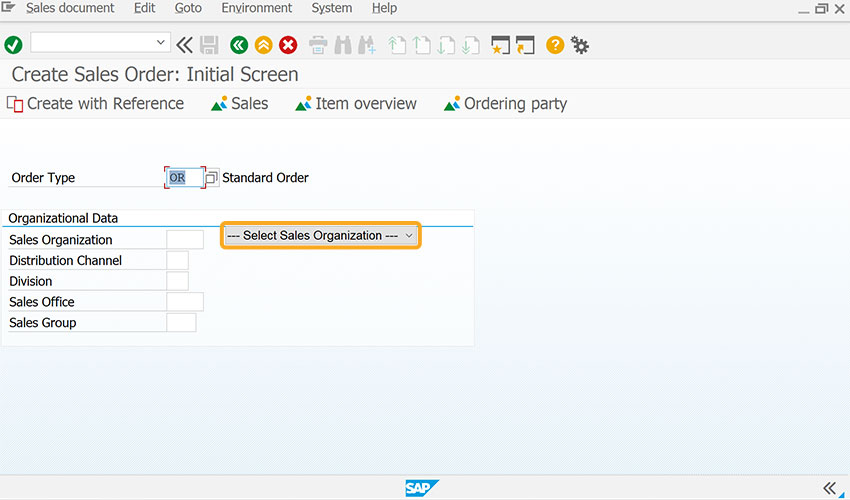
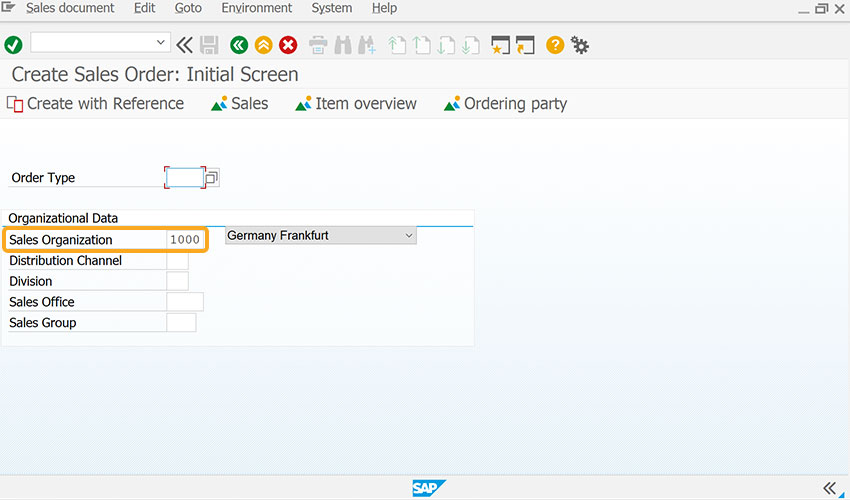
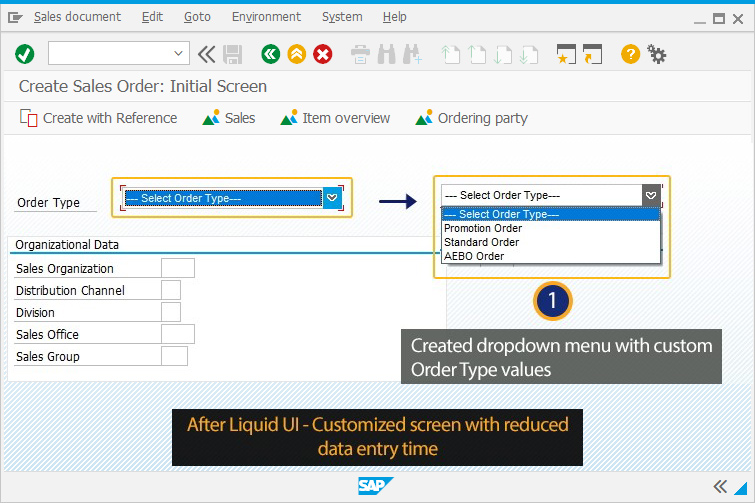
This example demonstrates how to create a customized dropdown menu linked to the Order Type on the Create Sales Order: Initial Screen.
//Create the file SAPMV45A.E0101.sjs inside your scripts folder for customizing the Create Sales Order: Initial Screen
//Now, add the Liquid UI script to the above file, and save it.
- Create a dropdownlist and set values to the Order Type input field.
// Creates and sets Order Type values to mylist dropdownlist
set("V[mylist]","=--- Select Order Type---;AA=Promotion Order;CMR=Standard Order;AEBO=AEBO Order;");
dropdownlist([2,17],"mylist",{"refer":"F[Order Type]","width":30,"process":test_dropdown});
- Navigate to the Create Sales Order: Initial Screen to view the custom order type dropdown.
Click here for details on how to create a new dropdownlist.
Tips and Tricks
Restrict dropdownlist
You can restrict entries and trigger automatic execution on selection.
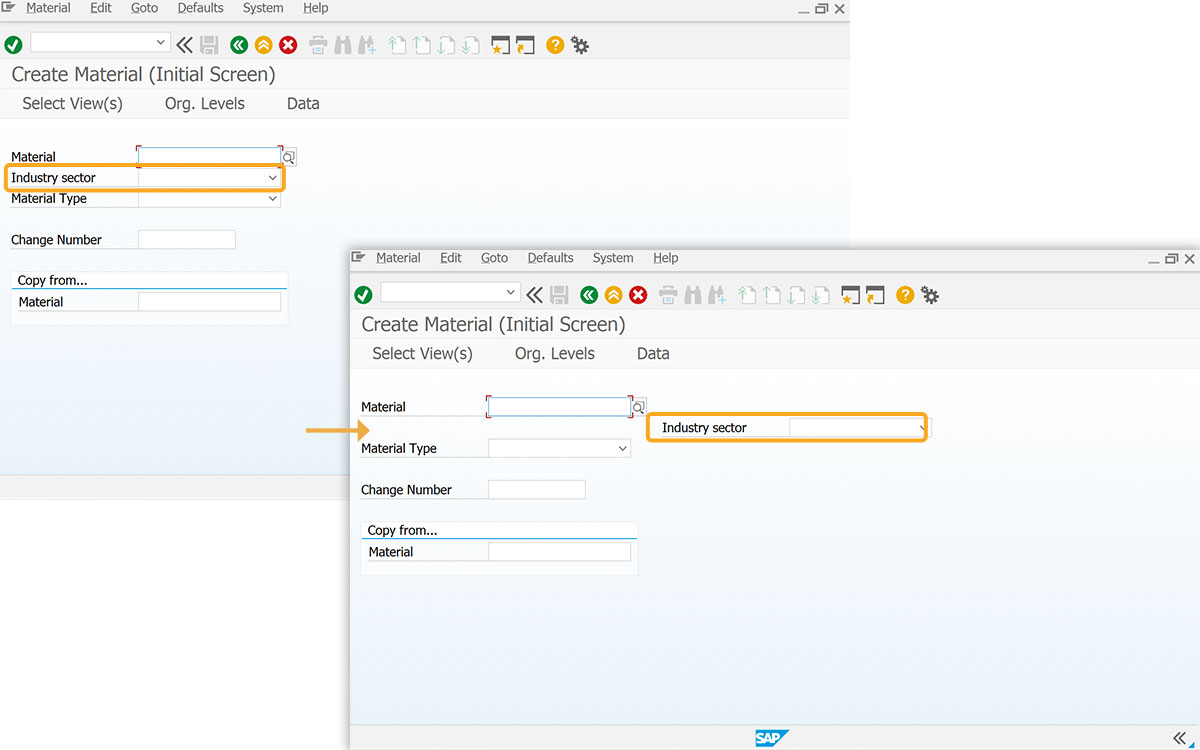
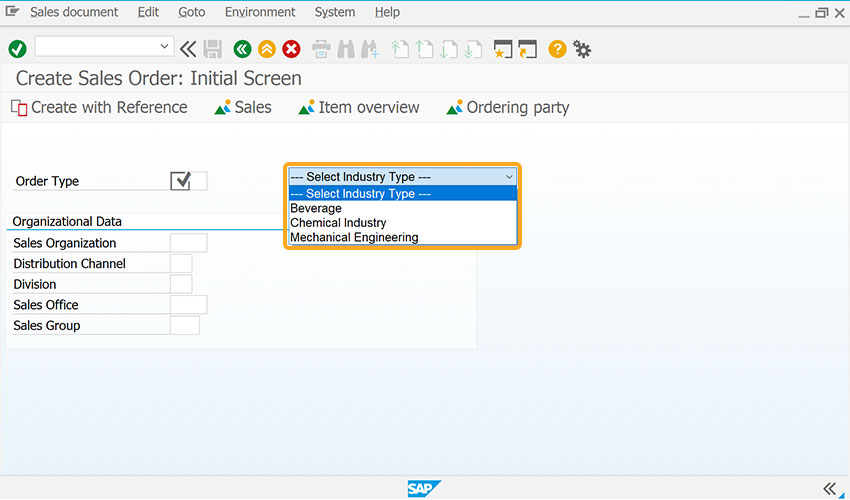
- Create a dropdown list for the Industry sector input field, and add a function for the dropdownlist to restrict the dropdownlist values.
// Creates Mylist dropdownlist and sets values for it
set("V[mylist]","=--- Select Industry Type ---;B=Beverage;C=Chemical Industry;M=Mechanical Engineering;");
dropdownlist([2, 17],"mylist",{"refer":"F[Industry sector]","width":30,"process":test_dropdown});
// Adds function for dropdownlist
function test_dropdown(){
set("F[Industry sector]",z_ordertypeselected);
   set("F[Material Type]","FERT");
   enter("?");
}
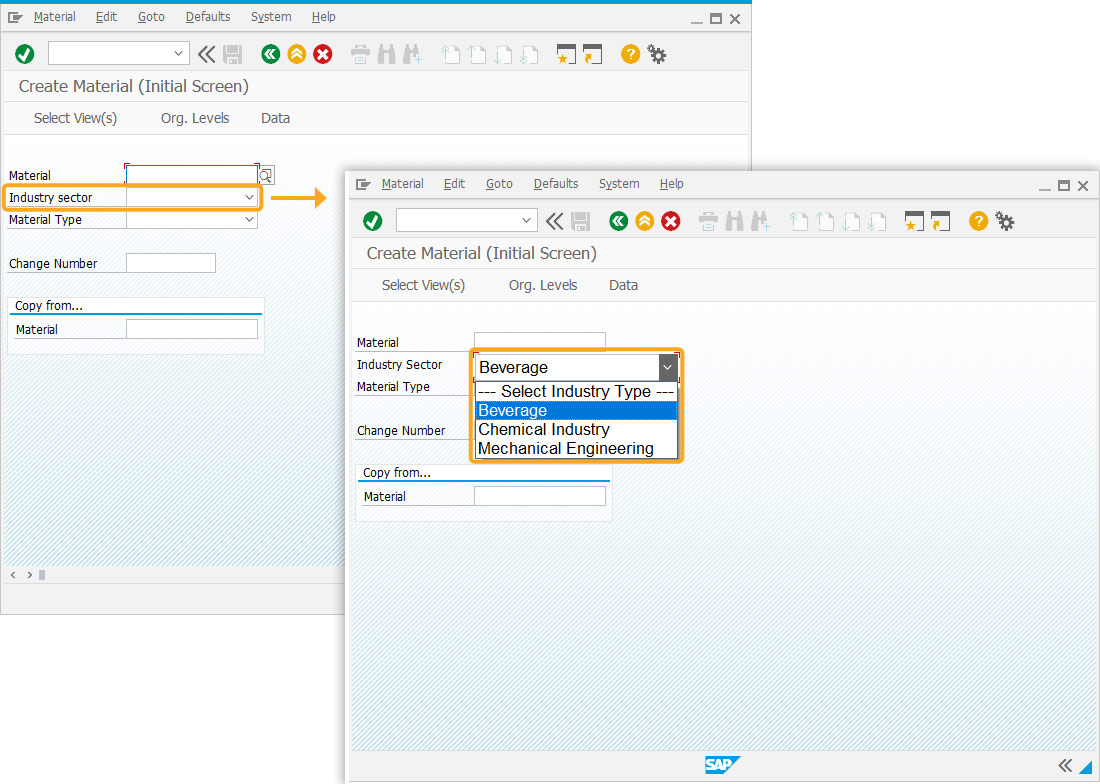
Click here for details on how to create a dropdownlist on SAP screens.
Delete dropdownlist
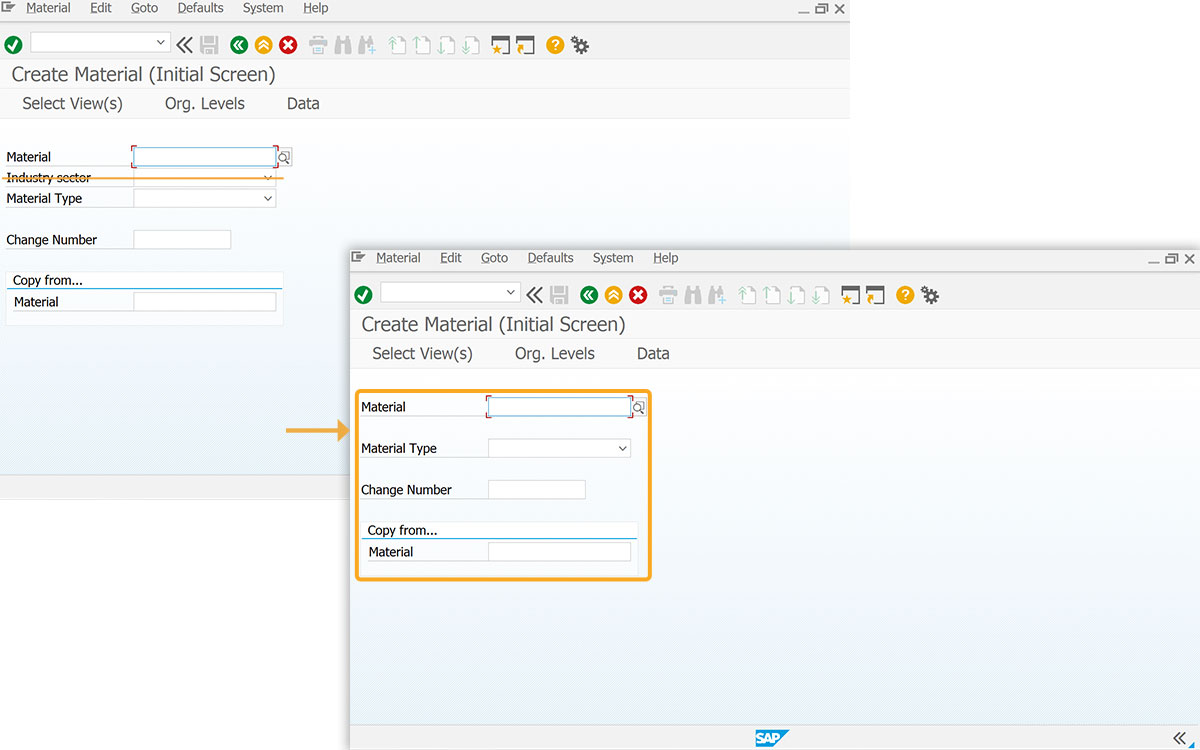
You can remove dropdownlist from the SAP screen using del().
- Delete the Insurty Sector dropdownlist using the del().
// Deletes Industry Sector dropdownlist
del('F[Industry Sector]');
Move dropdownlist
Dropdownlist can be repositioned within the same screen to the desired location using the pos() command.
- Change the position of Industry Sector input field using the pos().
// Changes the position of Industry Sector dropdownlist
pos('F[Industry Sector]',[2,40]);