


Purpose
The text() is used to display various types of text on the SAP screen, including single-line text, text in variables, icons for SAP elements, and creating comments. Additionally, text() allows you to modify existing SAP screen elements such as checkboxes, context menus, input fields, push buttons, radio buttons, and tabs.

Note: Click here for more details on how to position the screen elements.
Syntax
You can create text using different formats depending on your requirements, as explained below:
Format 1: Basic Text placement
To create a text with a label at the specified position and options.
// Creates a text with a label at specified row and column coordinates
text([row,col],"label name",{option:"options,values"});
// Creates a text using the size option
text([7,25],"Enter Notification Information"{size:30});
// Creates a text with intensified option
text([1,10],"shipping conditions",{"intensified":true});
Format 2: Text without options
// Creates a text without options
text([row,col],"label name");
// Creates a text with label name
text([7,25],"Enter Notification Information"{size:30});
// Creates a text using a variable
text([12,4],"You are on: "+z_txt);
Format 3: Replace SAP screen element name
// Renames screen element
text(F[screen element],"screen element name");
// Replaces the screen element name with the label name
text("F[Sales Organization]","Sales Org.");
Format 4: Text with respect to other screen elements
// Creates a text with reference to the other fields on the same screen
text("F[screen element]+[row,col]","label name");
//Creates a text with respect to other field elements on the screen
text(F[Material]+[0,46],"Raw Material");
Properties
- row, col - Row and column coordinates
- label name- Visible name of the text/li>
- @0Y@label name - Name of the field with icon
- @4V\\Qlabel Tip@label name - Name of the field with tooltip and icon
- screen element - Field name
Available Options
You can use the following options with the text:
|
"comment":true - Displays the text in different fonts and colors. |
|
|
"fixedfont":true - Displays the text in a fixed font. |
|
|
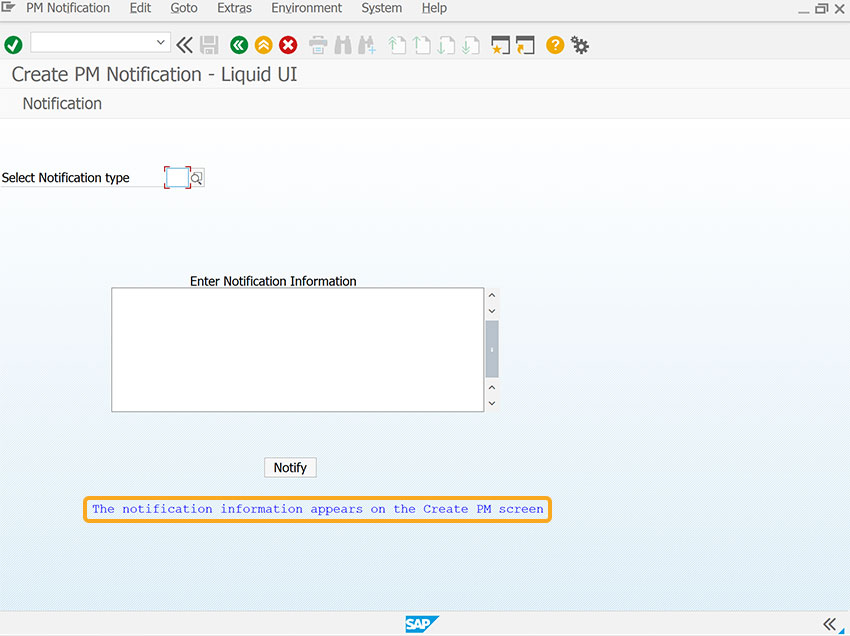
"intensified":true - Displays the text in blue color. |
|
|
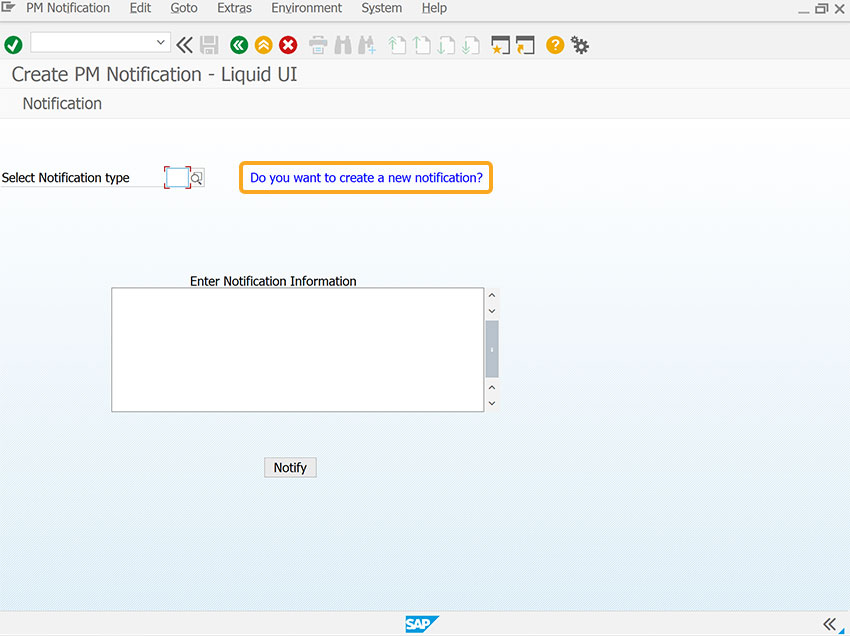
"left":true - Draws a line from the text to the next nearest element. |
|
|
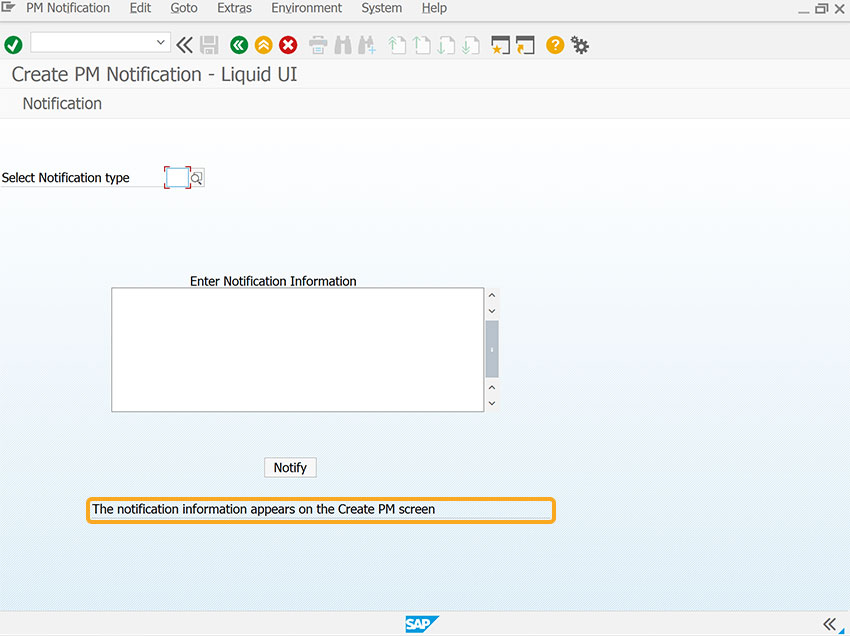
"size":value - Specifies the size of text. |
Options Detail
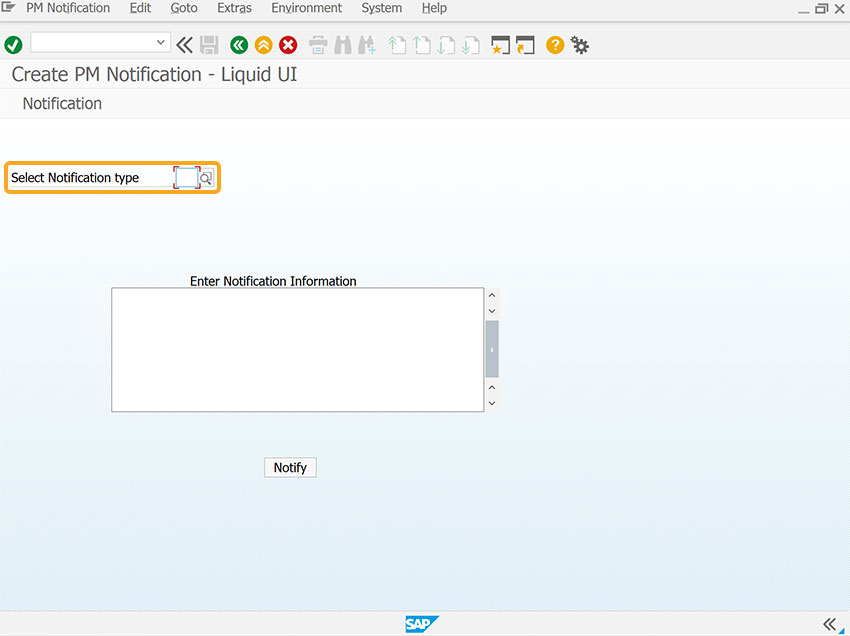
The following options demonstrate the usage of text() in customizing the SAP screens.
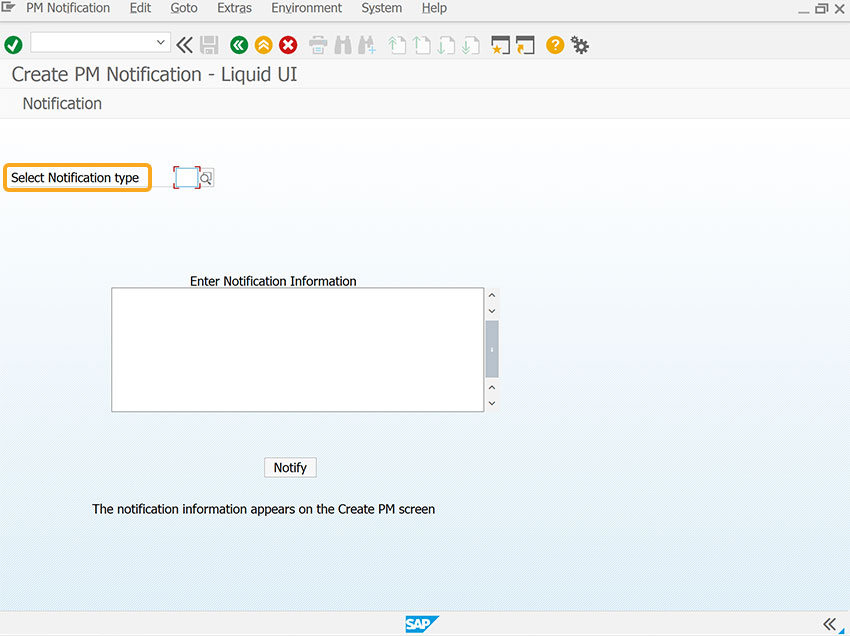
Example 1: Display text using a variable in format 2
The following example demonstrates how to create a text without options.
//Creates a text without options
text([7,30],"Enter Notification Information");
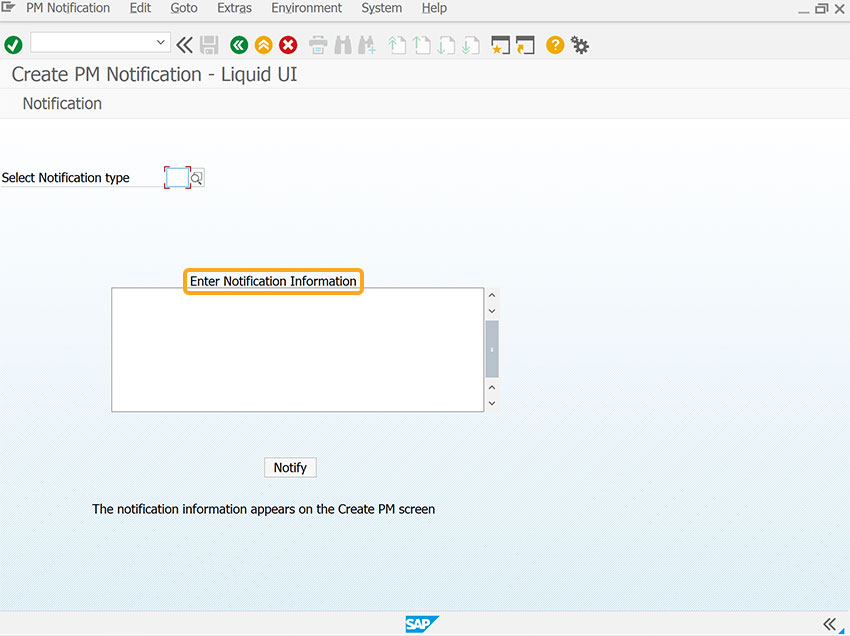
Click here for details on how to create a text.
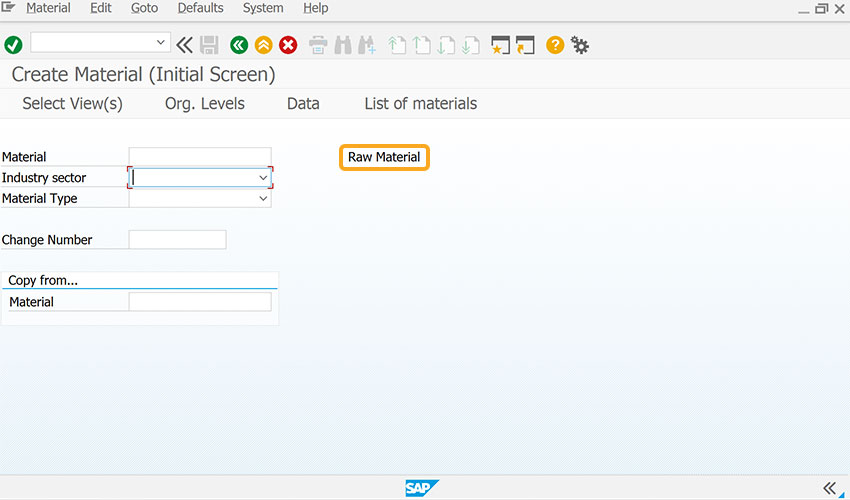
Example 2: Display text concerning an input field using format 4
The following example demonstrates how to create a text with respect to an input field.
// Creates a text concerning the input field
text("F[Material]+[0,46]","Raw Material");
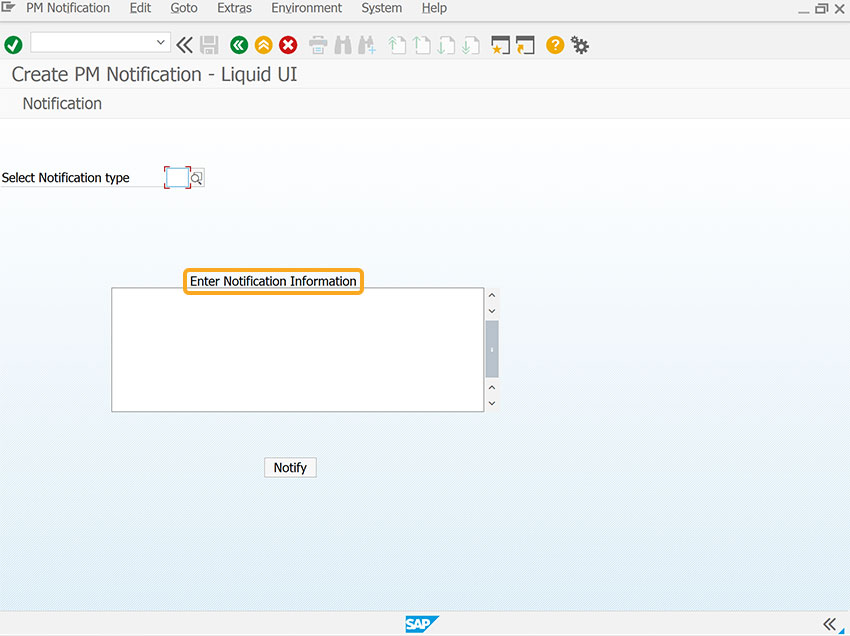
Example 3: Display text with the size option using format 1
The following example demonstrates the usage of the text() command with the size option.
// Creates a text concerning the input field
text([7,25],"Enter Notification Information"{size:30});
Click here for details on how to copy text to other screen elements.
Usage Details Tips and Tricks
Changing the screen element name
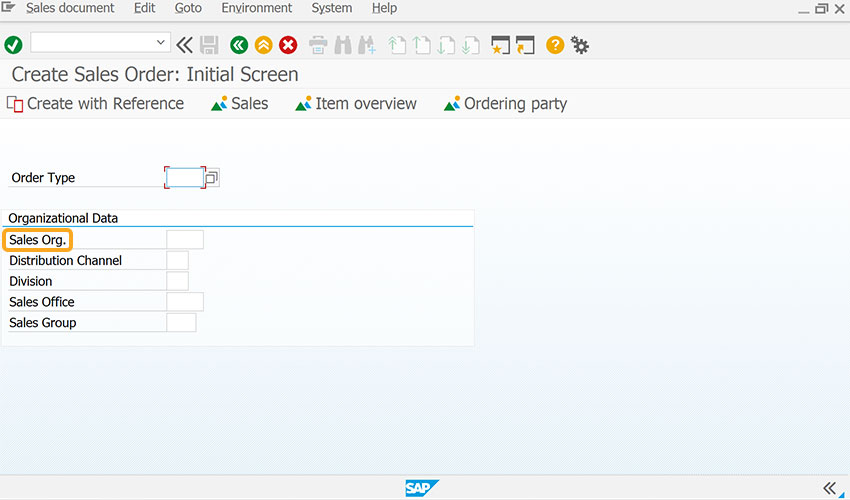
The text command can also be utilized to rename an existing field, push button, or radio button. In this example, we will modify the name of the Sales Organization field on the Create Sales Order: Initial Screen (VA01).
//Create the SAPMV45A.E4001.sjs file inside your scripts folder for customizing the Change Sales Order: Initial Screen
// Now, add the Liquid UI script to the above file
- Logon to SAP and navigate to the VA01 Initial screen. Now, you can see the name of the Sales Organization is changed to Sales Org, as shown in the image below.
// Changes the name of Sales Organization input field to Sales Org.
text("F[Sales Organization]","Sales Org.");
Displaying text from variables
The text command is used to display the text stored in a variable.
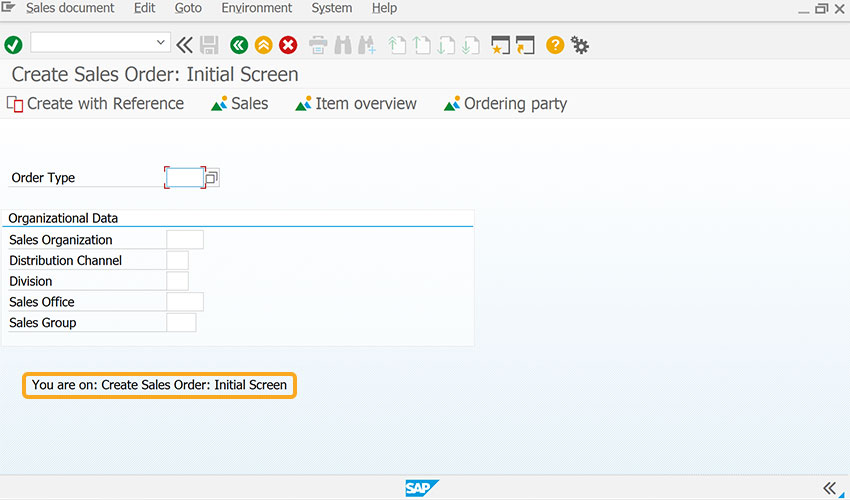
- Navigate to the VA01 screen, you can see the text You are on: create sales order screen! , as shown below.
// Displays the text stored in variable
var z_txt = "create  sales order screen!";
text([12,4],"You are on: "+z_txt);
Replace the field name
If you want to replace a field name throughout the SAP system, you can do it using the SAP repository or with the command GlobalTextReplace.
- Navigate to the VA01 screen, and you can see that the text Order is replaced throughout the SAP GUI with Request.
// Replaces the text Order to Request
globaltextreplace(/Order/,'Request',{"ocx":true});
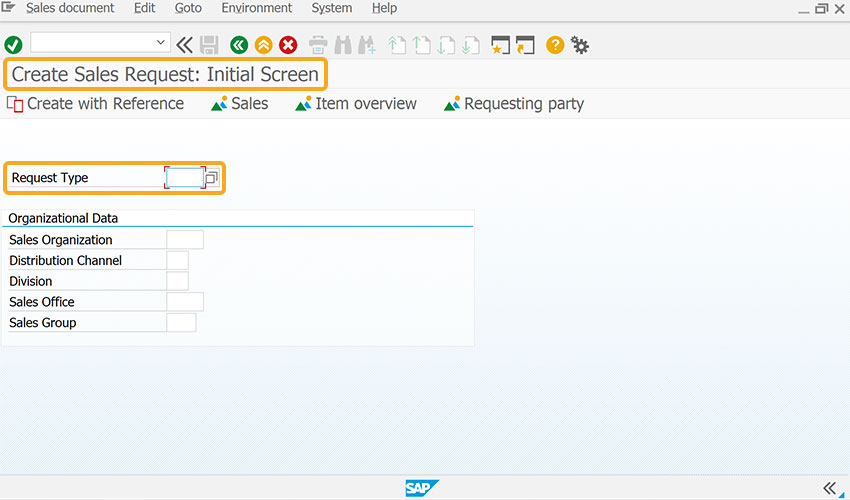
- As per the code, the text Order is replaced throughout the SAP GUI with Request.