


You can use either the Windows Service method or Console Mode to run the Liquid UI Server, as demonstrated below.
Adding Liquid UI Server as a Windows Service
You can add the Liquid UI Server as a Windows Service to start it automatically. The following steps describe how to add the Liquid UI Server as a Windows Service.
- Open the Command Prompt in administrator mode.
- Navigate to the Liquid UI Server installation directory, as shown below.
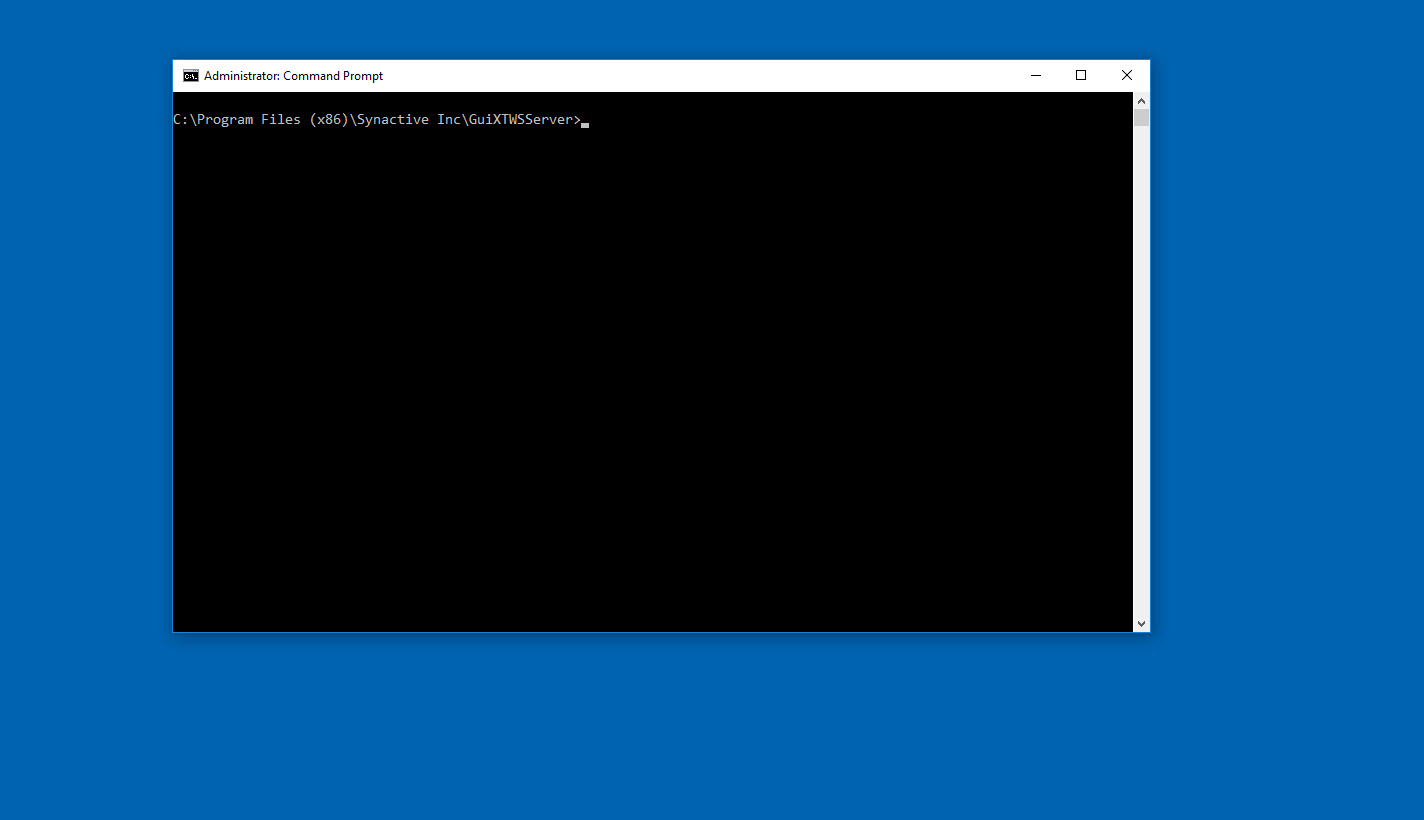
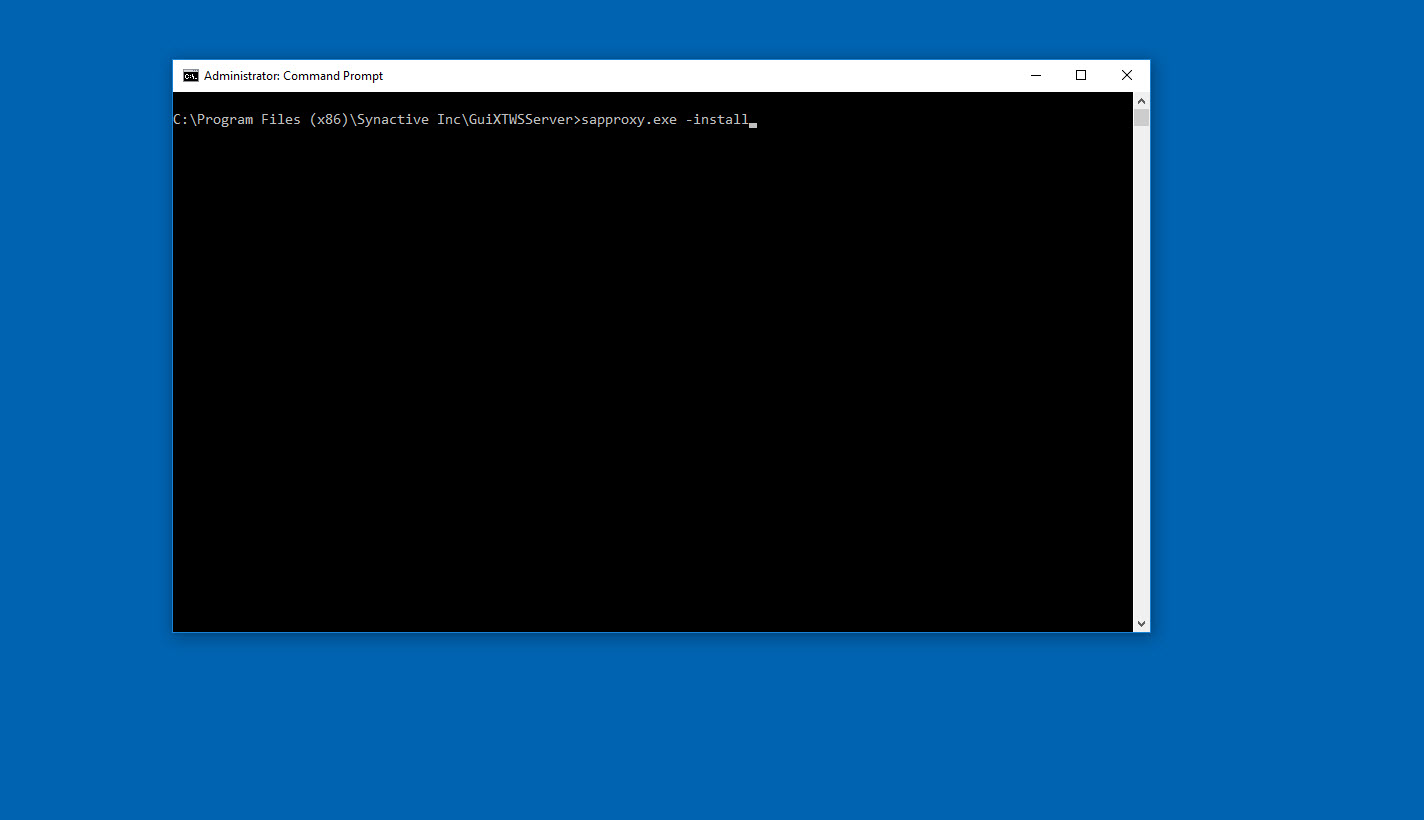
- Run the following command to add the Liquid UI Server to the Windows Services (the path may vary depending on your SDK installation).
sapproxy.exe -install
- The service appears in the Services window, as shown below.
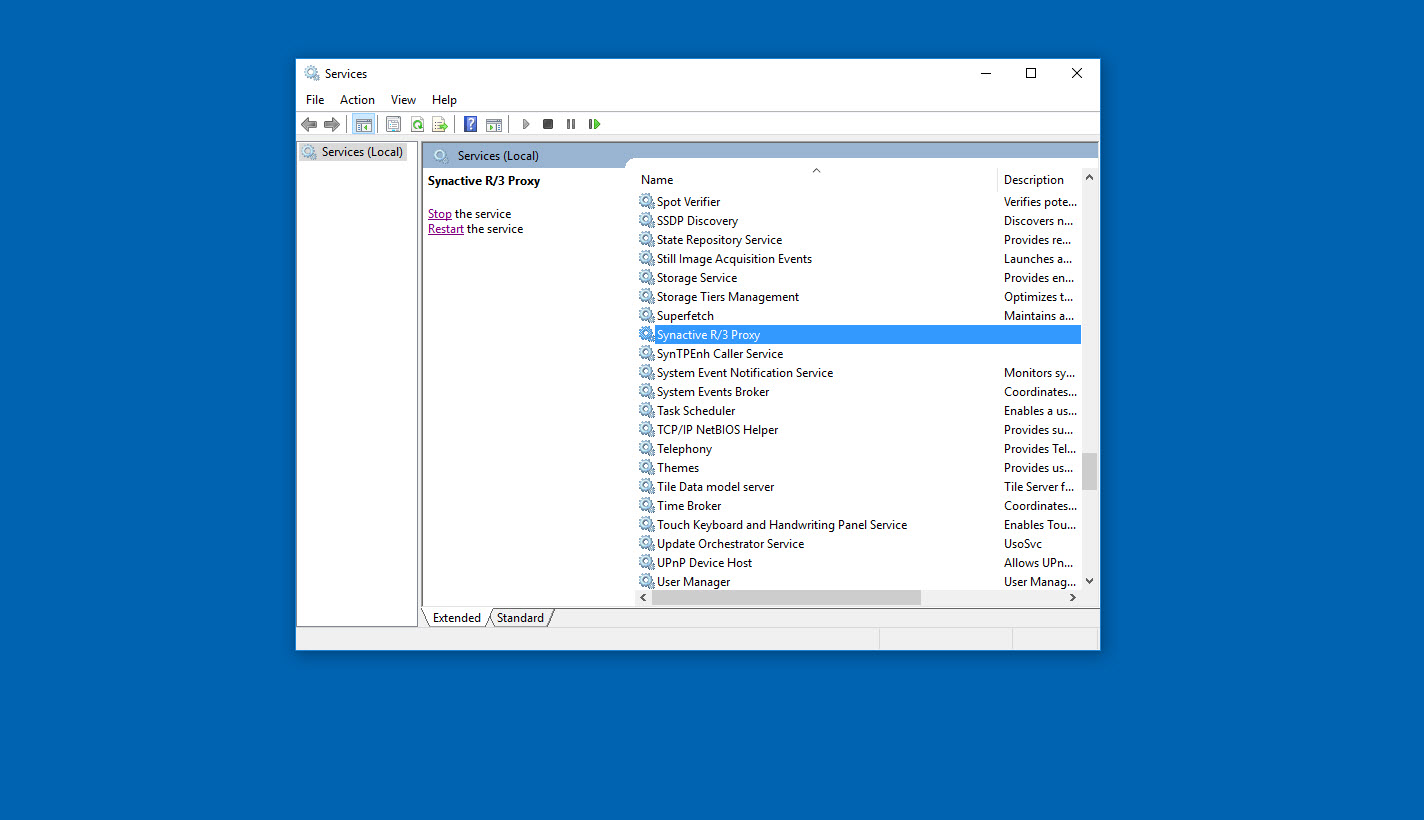
- Start the service to run the Liquid UI Server.
Running Liquid UI Server in Console Mode
- Open the Liquid UI Server folder located in the Liquid UI SDK installation directory.
- Double-click ConsoleMode.bat to start the Liquid UI Server, as shown below.
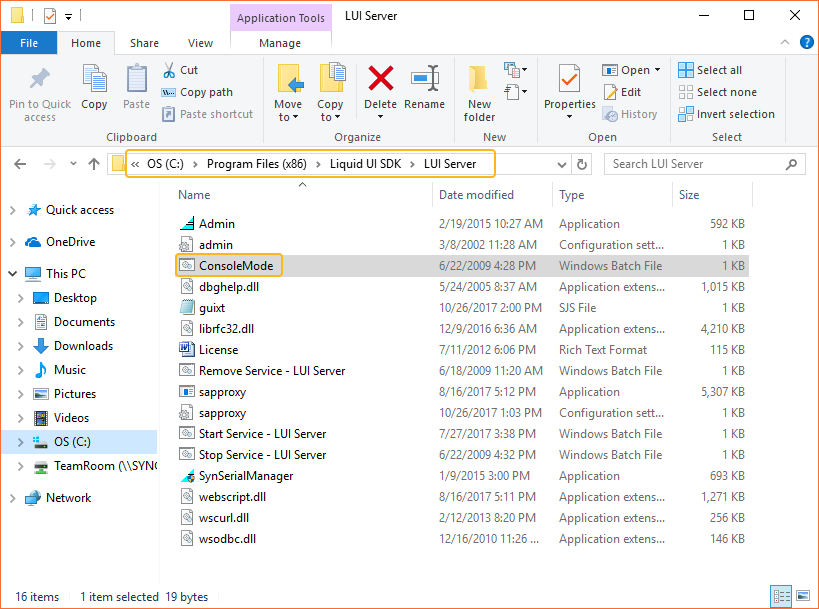
If ConsoleMode.bat is not available:
- Open the Command Prompt.
- Navigate to the Liquid UI Server installation directory.
- Run the following command:
sapproxy.exe -debug
The Liquid UI Server starts in Console Mode and displays status and log messages in the command window.

Note: Use either the Windows Service method or Console Mode to run the Liquid UI Server. You do not need to use both methods.