

Prerequisites
- Products: Liquid UI WS, Liquid UI Designer, Liquid UI Server or Local DLL, Client Software
- Commands: image(), inputfield(), pushbutton()
Purpose
This article illustrates how to dynamically display images on an SAP screen using image(). This command allows for the generation of visuals based on entered values, which enhances user context and offers a visual reference for material data. We’ll guide you through the following:
- Delete the image container from the SAP Easy Access screen.
- Add an input field for value entry.
- Include a push button to initiate the process.
- Implement a function to display the image.
User Interface
//Create the file SAPLSMTR_NAVIGATION.E0100.sjs inside your scripts folder for customizing the SAP Easy Access screen.
//Now, add the Liquid UI script to the above file and save it.
Customization
- Remove the image container from the SAP Easy Access screen with the del() function.
// Deletes the image container on the SAP screen
del('X[IMAGE_CONTAINER]');
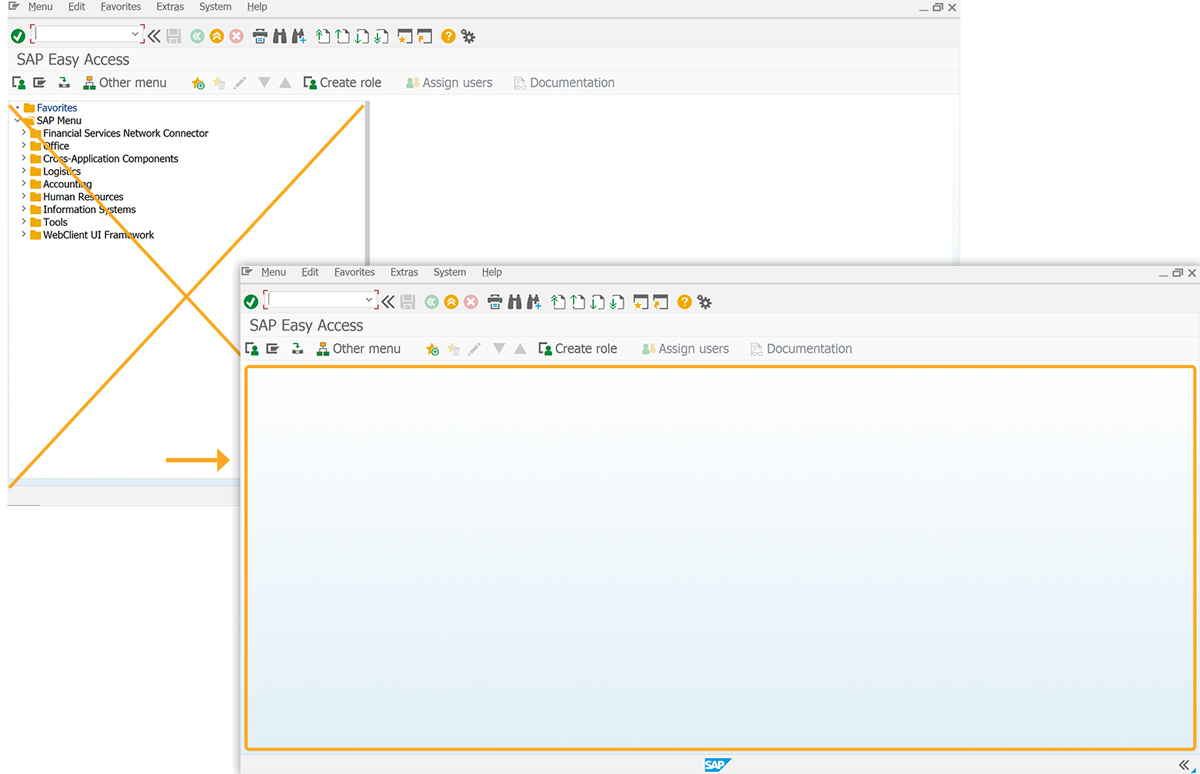
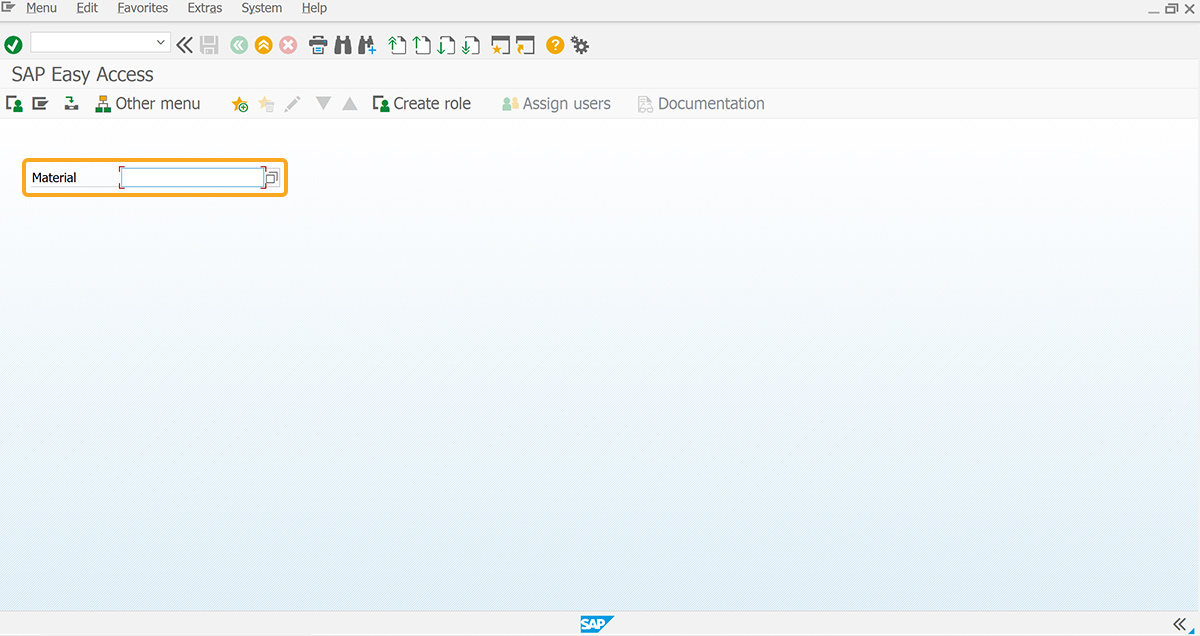
- Add an input field labeled Material for value entry.
// Creates an input field to enter the number
inputfield([2,4],"Material",[2,16],{"name":"z_mm01_material","size":18,"searchhelp":"MAT1"});
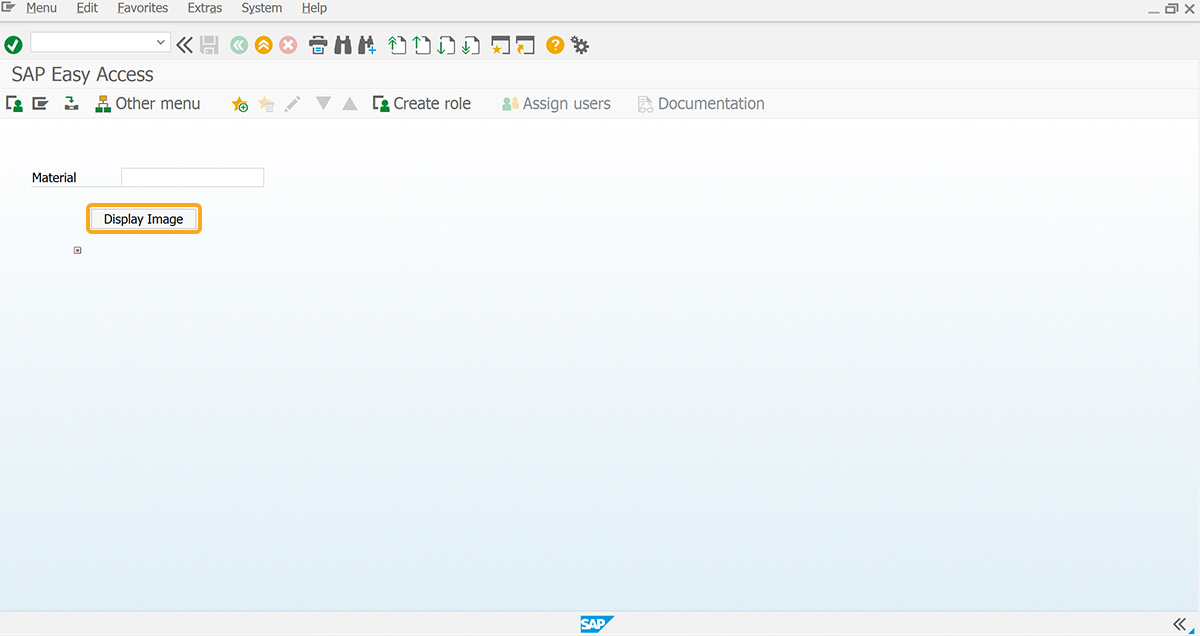
- Add a Display Image push button. This button displays an image based on the Material input.
// Creates a push button to display the image
pushbutton([4,12],"Display Image","?"); image([6,10],'&V[z_mm01_material].jpg',{'nostretch':true});
- Add the mm01 function to display the image of the desired material number.
// Function to display image
function mm01(){
    onscreen 'SAPLSMTR_NAVIGATION.E0100'
 image([6,10],'C:\Users\divya\Pictures\Screenshots\&V[z_mm01_material].png',{'nostretch':true});
}
SAP Process
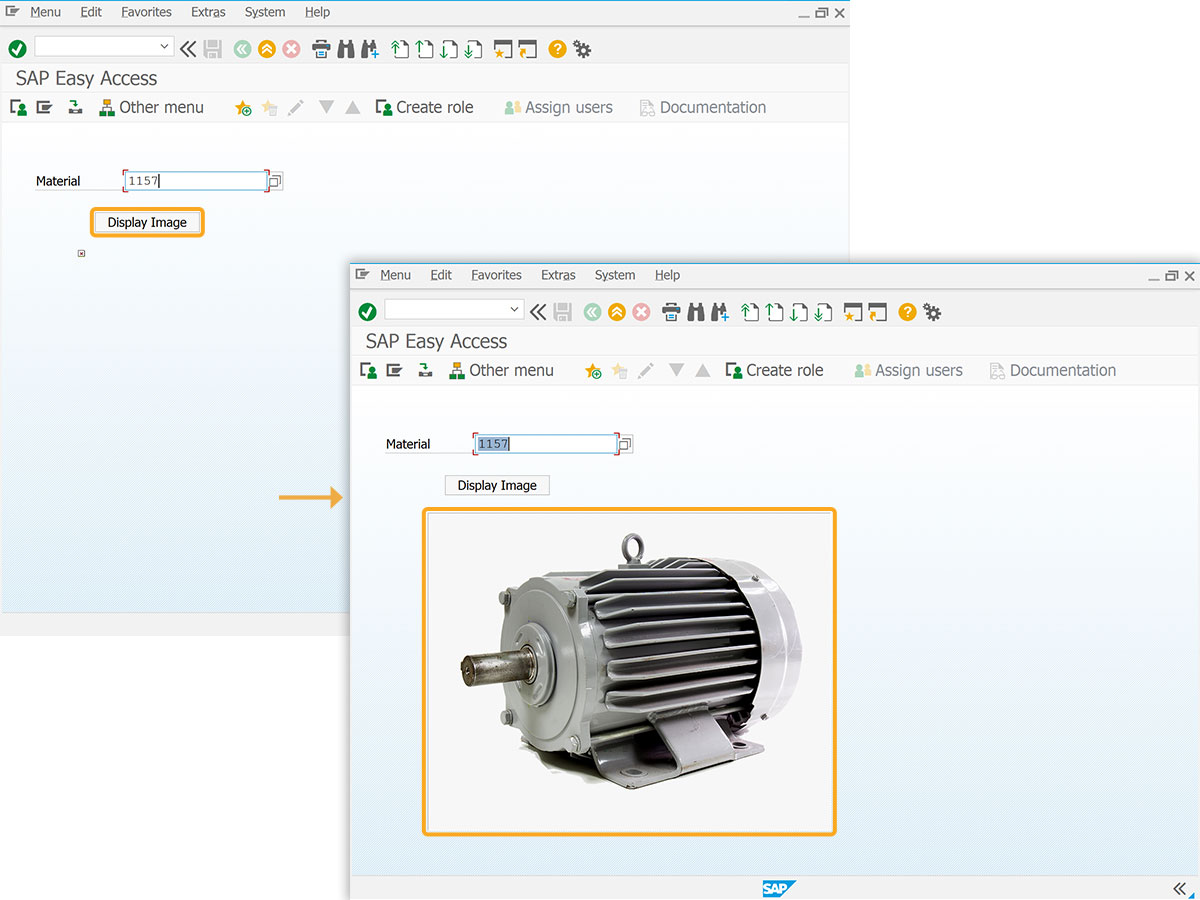
- To display the required image, refresh the SAP screen, enter the material number, and click Display Image. The corresponding image will then appear.